Just Add Sunlight!

Standard
Just Add Sunlight!

This Winter in Indiana is one for the record books. Even the most hardened of people are tiring of the cold, snow and ice. I’m a sunshine lover, anyway, so I’m finding this year to be particularly challenging.

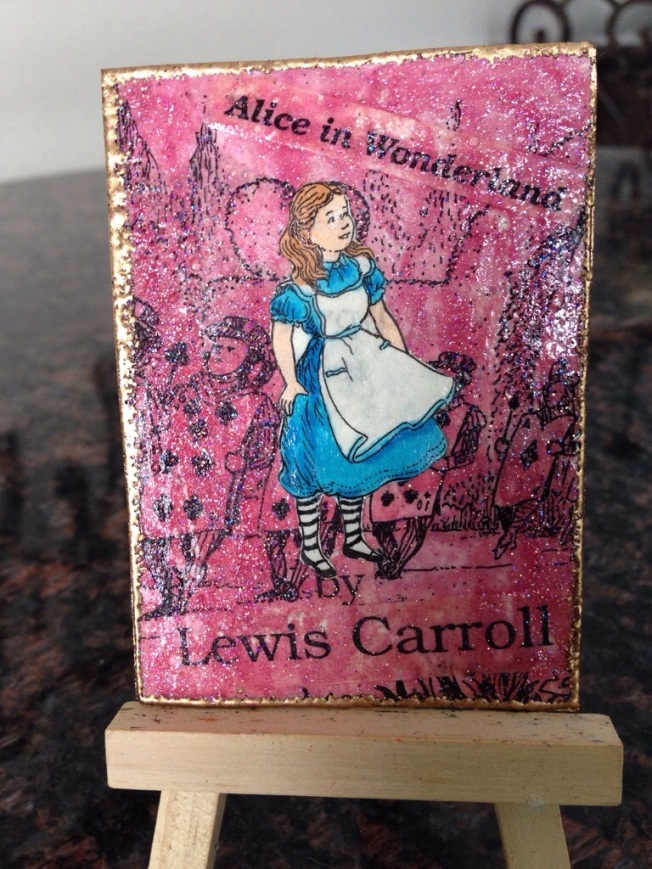
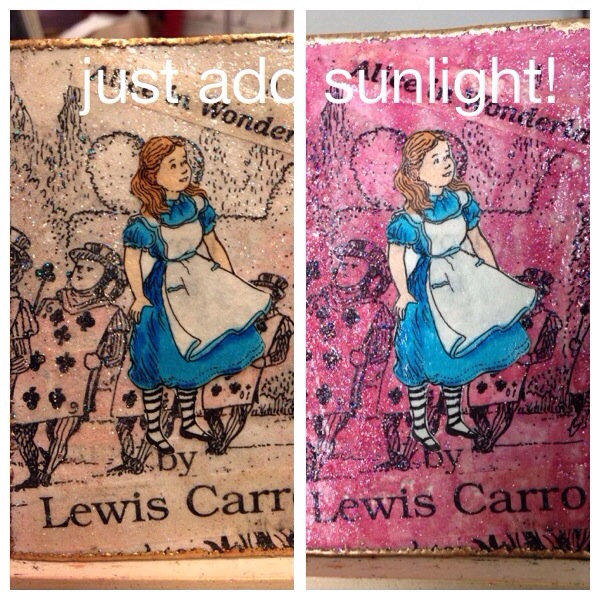
I recently created an ATC that shares my need for sunlight. This ATC changes color when exposed to the sun!

20140215-080037.jpg

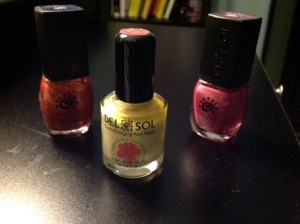
How did I create this magic? The trick is a special nail polish I purchased while on a cruise. At one of the ports, there was a Del Sol store that sold items that react to sunlight by changing color. My daughter and I bought several colors, including the clear one that changes to hot pink (she thought it would be a good trick to paint my husbands nails with the clear when he was asleep…haven’t yet tried that, though!)

20140215-080804.jpg

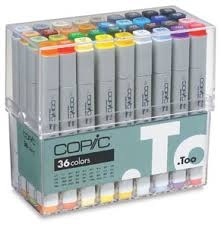
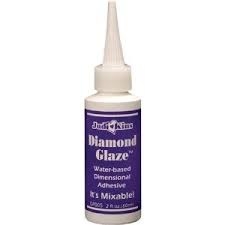
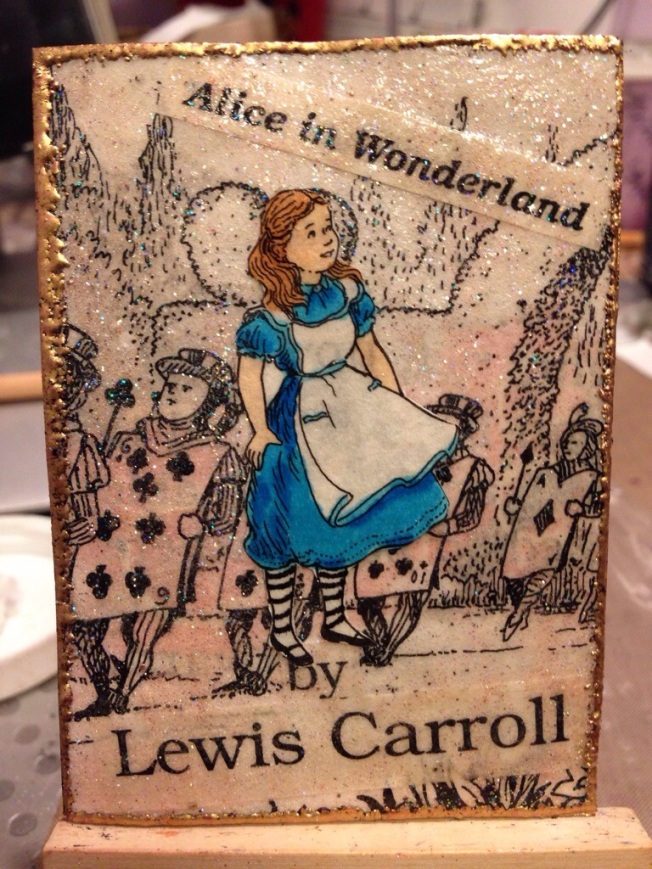
The theme of the swap was Alice in Wonderland, so I took pages I had already removed from an old book that I am altering. I cut out Alice and colored her with Copic markers and sealed with Diamond Glaze.

20140215-081209.jpg

20140215-081218.jpg

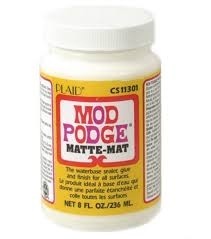
I layered text and illustration from the book pages, but did not add Alice yet. I used Mod Podge, matte, to adhere everything. When it dried, I covered it in Versamark medium and coated with UTEE (Ultra Thick Embossing Enamel). I melted the UTEE with a heat gun, and then allowed it to cool. I used the UTEE because I was afraid the nail polish wouldn’t work as well if absorbed into the paper.

20140215-081813.jpg

20140215-081821.jpg

20140215-081829.jpg

When it cooled, I painted the entire ATC with the clear Del Sol nail polish. The nail Polish had sparkles in it, so it wasn’t entirely clear. After it dried, I took it out into the sunlight to see if it worked. It did! There were a few places lighter than others, so I gave it a second coat.

Once it was completely dry, I added the cut out and colored image of Alice. Then I used gold embossing powder to embellish the edges of the ATC.

20140215-082253.jpg

I took it outside, and it immediately began changing color.

20140215-082407.jpg

It also immediately began changing back as soon as I brought it inside, but I still thought this was super cool. It may be the first of its kind! I sent it to my friend, Sheryl, in Arkansas and she described it as the first “solar powered” ATC she had seen!

So here’s to our need for sunshine!
Embossing machine

Standard

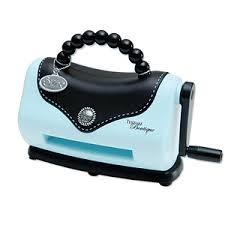
I love a good bargain, especially on art and craft supplies. Recently, I couldn’t pass up a great sale on a small embossing machine. I already have a large di cut machine (Cricut), so I didn’t need a machine that could do both. Therefore, this little Sizzix Boutique machine seemed perfect. At 40% off, how could I resist?

20140103-003747.jpg

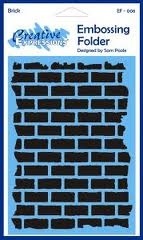
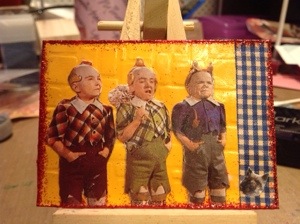
I had not yet taken it out of the box, when I sat down to make an ATC for a Wizard of Oz themed swap. I had an old Valentine with the munchkins that I wanted to use, but wasn’t sure what background. Then it clicked in my mind…when I bought my Sizzix, I also bought a brick pattern folder for it. Bazinga! Yellow Brick Road!

20140103-004252.jpg

I had never used one of these machines before, but it was so super easy. You put the paper into the folder, which is sandwiched between plastic pieces, that is then fed into the machine. I easily turned the handle, which pressed the folder together. The pieces were fed back out to me, and inside was my yellow ATC paper that now had a brick pattern on it. It was awesome!
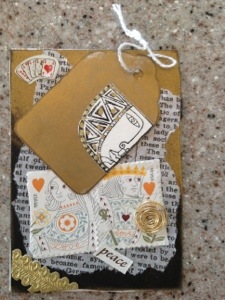
I added a few more Oz like touches and ended up with this:

20140103-004712.jpg

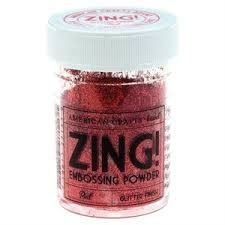
The ruby red glittered edges came from using sparkling embossing powder. I tapped the edges of the card on a Versamark pad, then dredged them through some glittery red powder. After setting with my heat gun, they are dry and permanent. No waiting for glue to dry…I’ll never go back to regular glitter or glitter glue again. This stuff is the best.

20140103-005130.jpg

For the record, I’m not endorsing any particular brands, and I don’t receive anything from any particular companies. I’m just sharing with you what I have found works well for me. I’d love to hear if you have some you prefer over others!
Inchies

Standard
Inchies

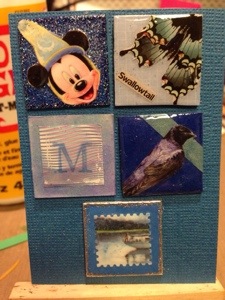
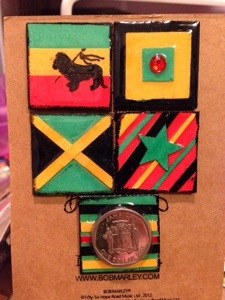
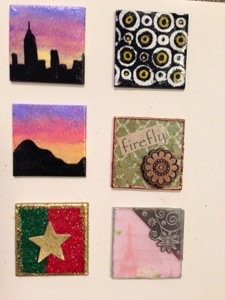
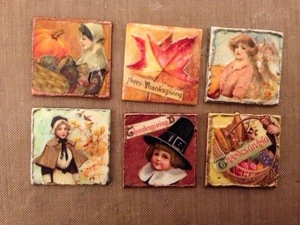
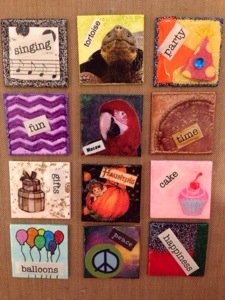
With the holidays over, I can find some time to work on my art projects. I have recently become obsessed with inchies. I have been swapping them on Swap-bot and trying to fill a large frame. I must confess, I’ve become quite smitten with these tiny little challenges! Because many ATC artists are unfamiliar with inchies, I thought I would spend some time on introducing them.

20131229-122648.jpg

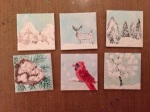
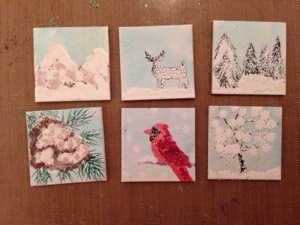
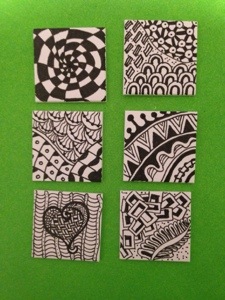
Inchies are tiny works of art. They are precisely one square inch. Therein lies the challenge. How can you convey an idea, concept or mood when limited to just one inch?

20131229-122809.jpg

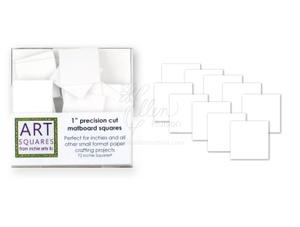
To begin with, make sure your inchie is sturdy. Because they are so tiny, they need to be a little thicker than an ATC. Some people use cereal boxes as the backing. I like to buy precut matboard from Inchie Arts via Ellen Hutson. They come in white, black, gray or various shades of browns.

20131229-123122.jpg

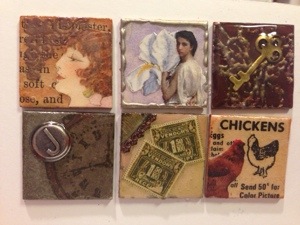
To design inchies, I often think of three main components: background, focal item, accent item. For backgrounds, you can use a variety of techniques. Sometimes I use scrapbook paper, punched with a 1″ punch, old maps, book pages, paints, embossing powder, or a combination of these.

20131229-123722.jpg

The focal item may be an image cut from a book, postage stamp or other ephemera. It could be a trinket, charm or button. Sometimes I draw or rubber stamp an image.

20131229-123559.jpg

To accent, I may edge the inchie with ink or embossing powder. I sometimes doodle designs, or I may add a few other smaller images for a collage. It all depends on what I’m trying to convey.

20131229-123413.jpg

Finally, I like to seal my inchies with a topcoat. You can use any number of things, but I tend to use Glossy Accents. I put a thin coat if I just want to seal and shine. I put it thicker if it is holding a heavy embellishment. Sometimes I seal with clear embossing powder or Mod Podge.

20131229-123239.jpg

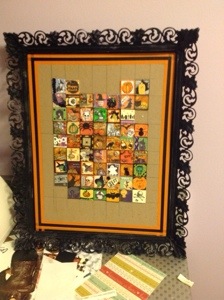
Finished inchies can be used in a number of ways. I have framed large groups together. I have attached some to a small canvas. They can be used on ATCs or greeting cards, too. The photo below us an unfinished project of framed Halloween inchies.

20131229-123840.jpg

They are a lot of fun, so I hope you will give them a try!

20131229-124110.jpg

20131229-124132.jpg

20131229-124202.jpg

Using Preprinted Supplies

Standard

Sorry it has been awhile since my last post. All of my Summer travels caught up with me, and I had to take a break from crafting to do other things…but now I’m back with a few ideas for making ATCs.

There are a lot of great preprinted papers and supplies out there. Some of them are practically ready made ATCs, such as this Graphic 45 paper

20130824-160303.jpg

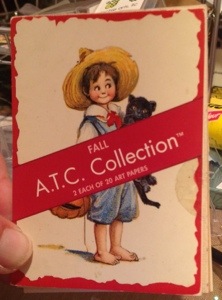
Or this little pad of papers from Memories in the Making

20130824-160459.jpg

So how can you take something like this and make it your own original work of art?

One answer could be “Layers!”

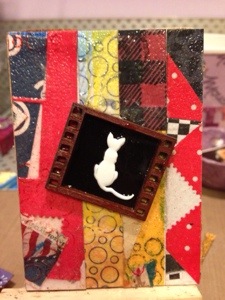
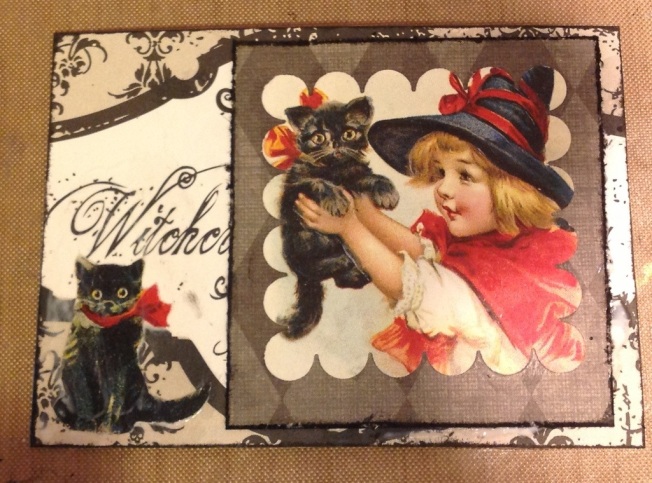
Cut elements from these materials and layer them to create a unique compilation, as I have done in this ATC for a Halloween Vintage Cat swap.

20130824-160831.jpg

I used a punch to isolate the image of the child and kitten. I then used Mod Podge to attach it to a piece of Halloween scrapbook paper in gray and black harlequin pattern. I used my Tim Holtz gadget to rough the edges, and then I inked them on a black stamp pad.

After the ink dried, I attached that to a piece cut from the Apothecary Labels from Echo Park Paper Co. using Mod Podge. I affixed it towards the side so part of the word, “Witchcraft” would show. It still looked a little unbalanced, so I returned to the same sheet that the large image was cut from and carefully cut the cat image. I Mod Podged that in the left corner. I later (after the photo was taken) went back and put Glossy Accent on the cat to give it a little more “pop.”

So, although it is made entirely of preprinted materials, it is uniquely mine.

Topcoats…does it matter which one?

Standard

I like my ATCs and, especially my Inchies, to look finished. Often I will use traditional Mod Podge or even glossy Mod Podge, but sometimes I need part of the ATC to really be highlighted. That is when I choose to use one of the thicker, glassy topcoat adhesives. I had started crafting with Diamond Glaze, and really like it, but I have to order it online as it is not available in my local stores. Some others are more readily available, so I decided to test three to see if they truly differ.

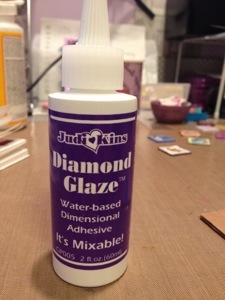
We can start with Diamond Glaze. I always order it online from Amazon. It’s usually around $7.00, and I order it when I’m getting other items so that it will qualify for free shipping. It goes on in a way that is manageable. It does tend to have bubbles if you are not careful and squeezing very slowly. It takes several hours to dry.

20130628-092858.jpg

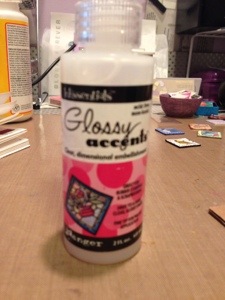
The next one I used is Glossy Accents. I ordered it online from a store that sells ATC supplies. It was about the same price as the Diamond Glaze. This product goes on thicker, and is made by Ranger, which we all know and love. It seems to have the fastest drying time of the three, and fewer large bubbles than the DG; however it does have more tiny bubbles. They are more challenging to drag to the edge because the GA is so thick.

20130628-093200.jpg

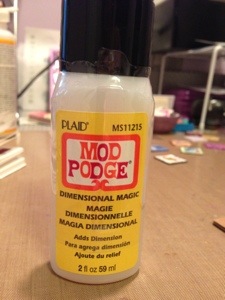
The last product is made by Mod Podge. It is readily available in most craft stores. I bought mine locally for around $6.00. This one comes out very quickly, so be ready. It is thinner, so it tends to pour out rather than be squeezed. This also means it seems to have fewer bubbles than the others, but it does have the longest drying time. The package suggests 24 hours, which can be challenging for those of us who are impatient artists!

20130628-093557.jpg

This is how they looked when I first applied them.

20130628-093854.jpg

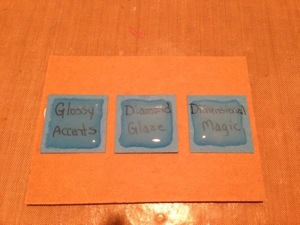
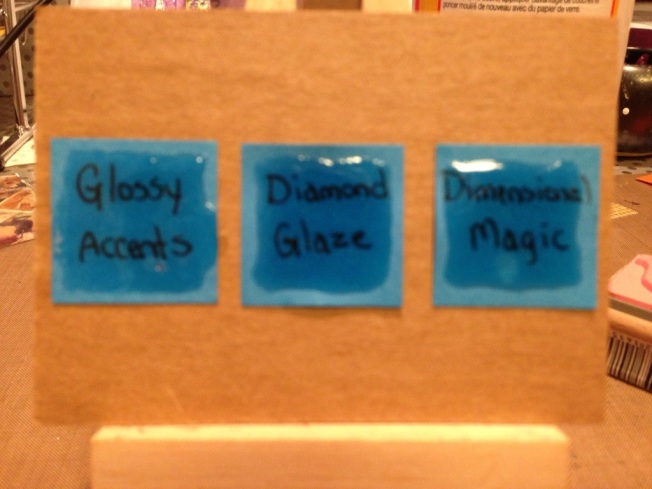
So the real test is in the finished product. I applied a square of each to see how they look when dry. I accidentally smudged the one on the left before it had dried completely, so it looks a little thinner. Otherwise the finishes are all nearly identical. The DG seems to darken the surface of the paper more than the others, though. If your paper is porous, you may want to keep that in mind.

20130628-094020.jpg

In terms of your finished project, it does not seem to matter which you choose. The selection comes in its ease of use, drying time and availability…and personal preference! All in all, these are each a great product that provides a resin-like hard, glassy surface without mixing any chemicals. I hope you have found this product test to be helpful!

Back from my Travels!

Standard

I’ve been traveling for the past two weeks, so I haven’t had a chance to post. I was in Africa with very limited access to the Internet. But, I came home to a full stack of mail from my swapping pals.

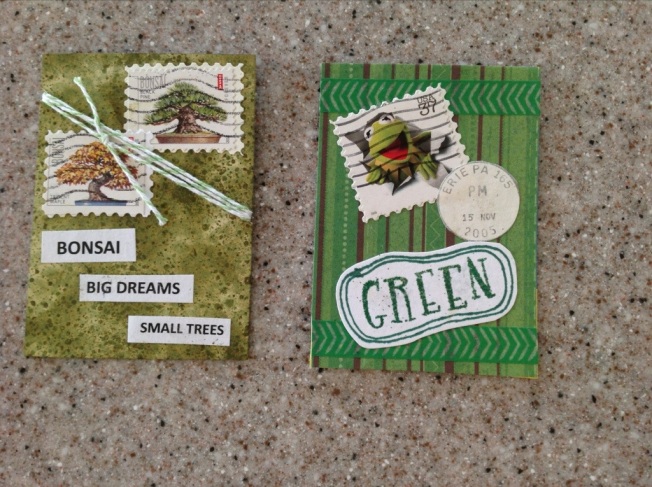
So for my Friday recap, these are some of the ATCs I received while I was gone. These first ones were for swaps using postage stamps. I’m such a Muppet fan, that I just adore this fabulous Kermit the frog one with the original postage cancellation! These both came from Barb Rhoades in Pennsylvania.

20130628-085356.jpg

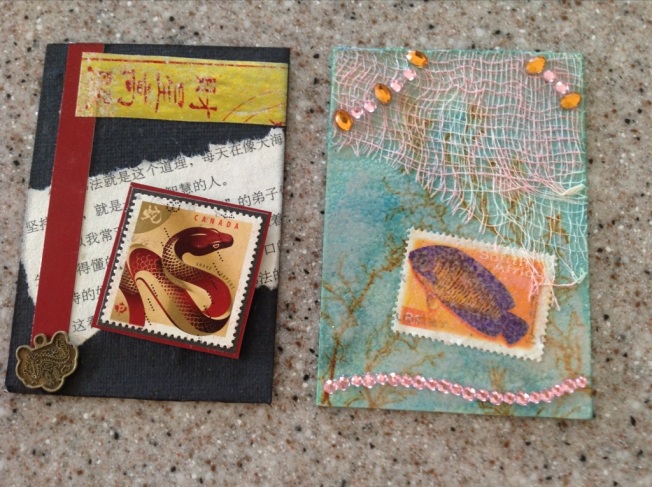
These two are from Gloria Freeman in Alexandria, Virginia. I love how exotic the snake ATC is…hard to believe it is a Canadian stamp and not Asian!

20130628-085707.jpg

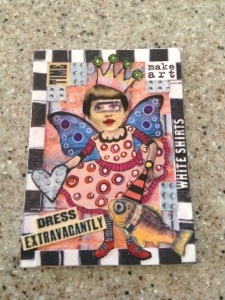
This Zetti style ATC comes from my swap pal Janis Bowen. She does such great work with Zetti!

20130628-085815.jpg

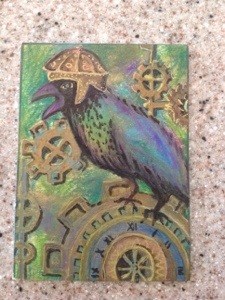
This next ATC was for a steampunk themed swap. Susan is a newcomer to Swap-bot, but obviously not new to art. She drew this gorgeous bird in color pencils, pastels and ink. It is stunning!

20130628-090035.jpg

The last one is a collage using a Masterboard technique, made by Kathie Meli. I love the repetition of the playing cards’ royalty throughout.

20130628-090215.jpg

I’ll soon be adding a post showing a little experiment I did testing various glossy topcoat finishes. Look for that soon! Have a good weekend!

Masterboard Technique

Standard

I was introduced to this technique through a swap hosted by my pal Janis. She included a link to a great video tutorial by Linda Israel

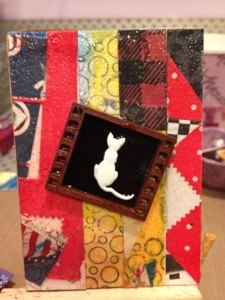
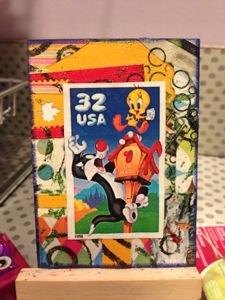
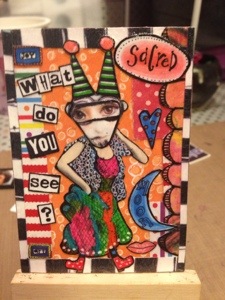
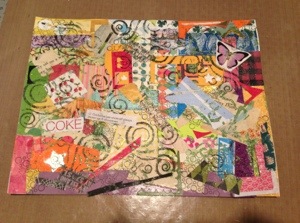
A Masterboard is basically a large collage that is then cut down into multiple ATC sized pieces to be used as backgrounds for ATCs or even as ATCs themselves. Once all the paper pieces are secured, you can stamp or add embossing powder to tie it together before cutting, as I did below.

20130609-111927.jpg

This is a great way to use up scraps that one may have littering a workspace. For smaller Masterboards, I often use the large junk mail postcards as the base, and then I begin layering my paper scraps on it with Mod Podge.

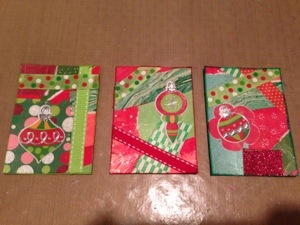
I’ve also made them when a swap calls for specific colors, such as yellow and blue. These Christmas ATCs were made from a Masterboard:

20130609-112101.jpg

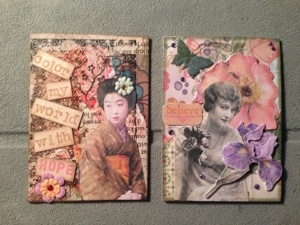
I’ve joined a few swaps recently that require the use of a Masterboard, and have received some great ATCs. These two were made by Beverly in Ft. Worth.

20130609-112148.jpg

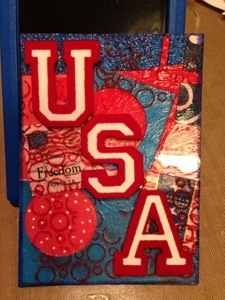
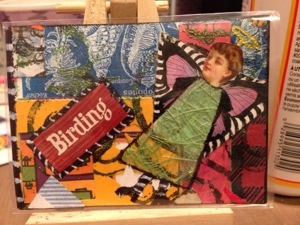
And here are a few more made by myself and others from Masterboards:

20130610-080043.jpg

20130610-080127.jpg

20130610-080209.jpg

20130610-080320.jpg

20130610-080422.jpg

Twinkle Twinkle Variety

Standard

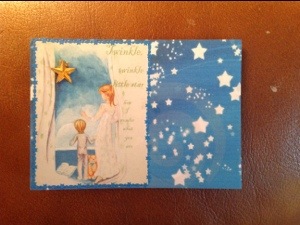
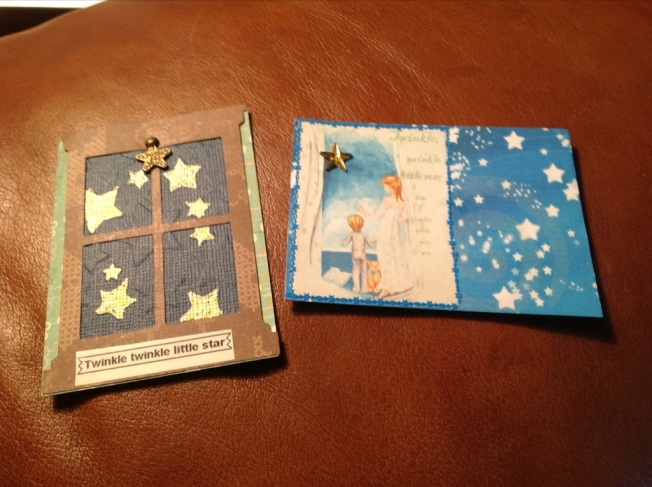
As I am busy preparing for a an upcoming trip, I didn’t get my Friday recap posted. Lucky me, because I received two great ATCs on Saturday that I want to share. Both of these came from Australia and both were for a nursery rhyme swap based on Twinkle, Twinkle Little Star. Both of the artists used paper as the primary basis of the ATC, but that is where the similarities end!

The first one came from Sharon Mackie. She used some fabulous starry paper as the background for this beautiful vintage image with the nursery rhyme. It’s embellished with dainty blue star trim around the image (where does she find this stuff?) and a large star rhinestone.

20130609-104233.jpg

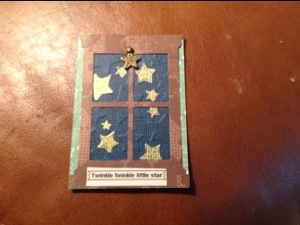
The next ATC is from Beverly Giggins. She used a cutout to create a window on her ATC. Out the window is the night sky, filled with stars she has drawn in gold. What you can barely see is that the dark teal paper she used has a starry texture as well. They are large stars embossed in the actual paper. I took this picture at an angle to try highlighting those stars. She added a brad with a starry charm and the title of the rhyme.

20130609-104712.jpg

It’s always fun to see how the same people can have a completely different take on the same theme. I wish I could share with you the two ATCs I made for this swap. In my haste to mail, I failed to take pictures of them. Maybe if Sharon and Beverly send me pics, I can add them to this later. Hint, hint!

20130609-105331.jpg

Friday Recap: Jacket ATC

Standard

It was a slow week in my mailbox, but there was something a little out of the ordinary I decided I should share.

I joined a group swap for a “Jacket ATC” that was hosted by Corinne in California. I had never heard of these before the swap, but she posted a link to a tutorial for creating a little cover that folds around the ATC. Corinne’s blog

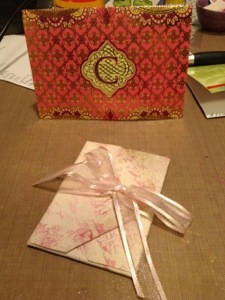
I was lucky enough to have her as a swap partner and I received this pretty little package in the mail from her this week:

20130531-105605.jpg

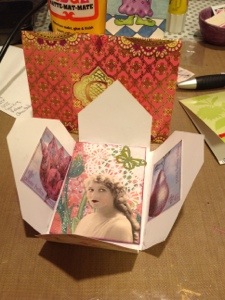
After slipping off the little ribbon, I opened the jacket to find this lovely ATC inside:

20130531-105733.jpg

I thought you might be interested in seeing how I made my jacket ATC, as well. I decided to take the term “jacket” quite literally, so I created a tuxedo jacket to envelope my ATC.

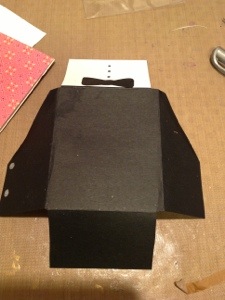
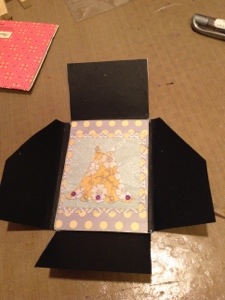
I started with a piece of black paper that I cut into a 7.5″ x 7″ rectangle. I positioned the ATC in the center and made marks at the corners. I used a straight edge to draw lines marking off the corner squares that needed to be removed.

After cutting those, I folded the remaining four flaps. Then I used scissors to cut the two larger flaps into the size and shape of a tuxedo jacket. The top flap needed to be white for the shirt, so I attached a scrap of white photo paper (so it would be shiny!).

20130531-110410.jpg

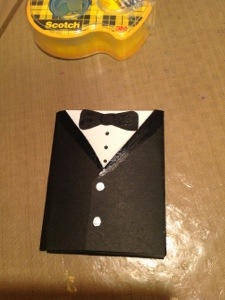
I used a scrap of the black paper to cut out a bowtie and attached that. I drew buttons on the shirt and the jacket. To make the satin lapels on the jacket, I just added glossy Mod Podge I applied with a q-tip.

I added the ATC inside with removable double-sided tape. Of course, the ATC had to be a dress!

20130531-110520.jpg

Then I folded it and added another tiny piece of removable double-sided tape to keep the jacket closed. Voila! A Jacket ATC…literally!

20130531-110710.jpg

Embossing powders

Standard

I’ve been playing more and more with embossing powders. The first I purchased was black, and it took some practice to get used to it. Then I bought some metallics, and I started picking up any jars that were on clearance…which led me to my all-time favorite: the clear chunky embossing powder. I’ll save that for the end.

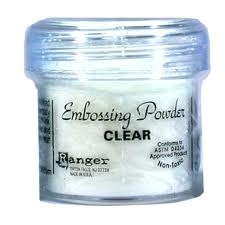
So, for beginners, what am I talking about? Embossing powders are like tiny jars of fine, powdery plastic that can stick to a gluey or wet image. When heated, the powder melts unto a shiny plastic design. Most people use them on rubber stamped images, but you can cover entire cards, the edges, or images you draw. The powder will come in a small jar.

20130528-003343.jpg

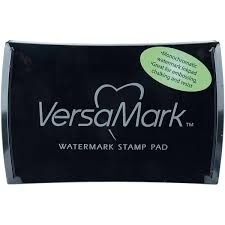
To make a sticky surface, you can use regular a regular inkpad. I often do this if I am embossing in the same color as the ink (especially black). But if you are using a clear powder or something where you don’t want ink under it, you can buy pads that are just for glue. I learned this the hard way: there is a reason so many crafters talk about Versamark pads. It’s because they are awesome. The others just don’t stick as well.

20130528-003459.jpg

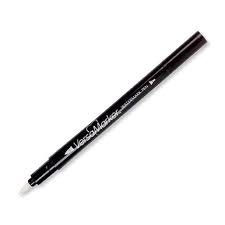
You can also get a Versamark pen for drawing an image to emboss. They are well worth the investment.

20130528-003616.jpg

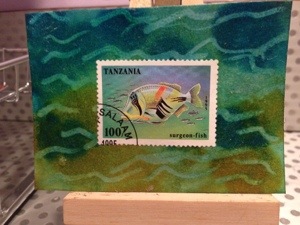
On this ATC, I used the pen to draw waves, then used clear embossing. I added alcohol inks over it, but the embossed area acted as a relief by not accepting the ink:

20130528-002011.jpg

Another lesson I learned: don’t use dirty stamps. The ink will transfer to your pad and you will no longer be stamping clear. I keep baby wipes on hand and a tiny bottle of stamp cleaner. I try to remember to wipe a stamp with a baby wipe as soon as I’m finished, but if I forget I can squirt some cleaner on to remove dried ink.

So, stamp your image, then pour the powder over it. Don’t be stingy, dump it on. Some crafters keep their powders in large containers and spoon it over. I may end up that route for clear powder, but for my colors I just do it over a blank sheet of paper. I pick up the item, and pour the excess onto the paper. I tap the edges and give it a thump on the back to remove the loose powder. If powder is sticking somewhere I don’t want it, I keep a small dry paintbrush on hand to brush it away. I set the ATC on a heat resistant mat, bend my big sheet of paper into a funnel and carefully pour the excess powder back into the jar.

Then I grab my heat gun, warm it a bit, and start melting the powder. You can usually tell when it’s done because it gets lighter and shiny, unless it’s a puffy or matte type. Easy peasy permanent embellishment.

Now, I promised to tell you about the chunky clear embossing powder. It is great for covering an entire card if you want it to appear to have water droplets or be under water, as I have done on this ATC:

20130528-001212.jpg

The more powder, the thicker and more “underwater” it appears. If you only want water droplets, this is where the cheaper glue pads are helpful. I use those and smash them randomly over the ATC, then pour on the powder. Not as much sticks as it would with the Versamark, and the air from the heat gun blows some off, too. Then you end up with water droplets, as I have on this ATC:

20130528-001552.jpg

I hope this helps to take away some of the fear of using embossing powders, and frees you to experiment!